chicken tenders and fries :
Did you know marinating chicken in buttermilk for up to 24 hours can make your homemade chicken tenders taste like they’re from a restaurant? This secret is one of the keys to making the perfect chicken tenders and fries combo at home.
Craving that crispy, juicy chicken with golden fries? You’re in for a treat! This easy recipe will have you making a crowd-pleasing meal in no time. Say goodbye to greasy takeout and hello to a healthier, tastier version you can customize to your heart’s content.

With just a pound of Yukon Gold potatoes and boneless chicken breast, you’re halfway to a delicious dinner. The magic lies in the details – a perfect ratio of flour to cornstarch for that irresistible crunch, and the right oven temperature to achieve fries that are crisp on the outside and fluffy on the inside.
Ready to dive in? Let’s explore how you can create this classic comfort food duo right in your own kitchen. Get ready to impress your family and friends with your culinary skills!
Key Takeaways
- Marinating chicken in buttermilk for 2-24 hours enhances flavor and tenderness
- Use a 1:1 ratio of flour to cornstarch for the perfect crispy coating
- Bake fries at 180°C/340°F for 15-18 minutes for optimal crispiness
- Fry chicken tenders in 1/2 cup olive oil for 2-3 minutes per side
- Serve with your favorite dipping sauces for a complete meal experience
Why Making Chicken Tenders and Fries at Home is Better Than Takeout
Ever wondered why homemade chicken tenders and fries taste so much better than takeout? Let’s uncover the secrets behind this delicious duo. You should consider whipping them up in your own kitchen.
Health Benefits of Homemade Versus Store-Bought
When you make homemade chicken tenders and fries, you control the ingredients. You can pick fresh, high-quality chicken and potatoes. This way, you avoid preservatives and additives found in store-bought versions.
By using healthier cooking methods like baking or air frying, you can cut down on oil. Yet, you won’t lose any flavor.

Cost Savings of Making Your Own
Homemade chicken tenders and fries can save you a lot of money. For example, making chicken fingers with fries at home can save up to $8.39 compared to takeout. It can even save $16.26 versus delivery.
These savings add up over time. Making your own meals is not only delicious but also budget-friendly.
Control Over Ingredients and Portions
One of the biggest benefits of homemade chicken tenders and fries is the ability to customize your meal. You can:
- Adjust seasoning to your taste preferences
- Control portion sizes to match your dietary needs
- Experiment with different coatings for varied textures
- Choose complementary dipping sauces like honey mustard or sriracha ranch
By making your own chicken tenders and fries, you’re not just saving money and eating healthier. You’re also crafting a meal that’s perfectly tailored to your tastes. Give it a try, and you might find yourself saying goodbye to takeout for good!
Essential Equipment for Perfect Chicken Tenders and Fries
Ready to make your homemade chicken tenders and fries better? Let’s look at the key tools you need for a smooth cooking process.
First, a good fryer is a must. A 6-quart Dutch oven or bigger is perfect for that golden crisp. For big groups, a Henny Penny fryer with oil filtration is a smart choice.
- Long tongs for safe handling of hot food
- Two sets of cooling racks and baking sheets for prep and cooling
- Digital probe thermometer to ensure safe internal temperatures
- Paper towels for managing excess oil

Baking sheets are also crucial. They’re great for oven-baked fries and for prep work. You’ll need about 1 ½ pounds of potatoes for crispy fries to go with your 2 pounds of chicken tenders.
For those watching their calories, an air fryer is a big help. It lets you get that crispy texture with less oil. This means fewer calories, about 666 per serving, compared to traditional fried chicken tenders and fries.
The right tools make a big difference in cooking chicken tenders and fries. With these, you’re set to make meals as good as those from a restaurant in your own kitchen!
Ingredients You’ll Need for Restaurant-Style Results
Ever wondered what makes restaurant chicken tenders and fries so tasty? Let’s find out the key ingredients to make them at home!
Chicken Tender Ingredients
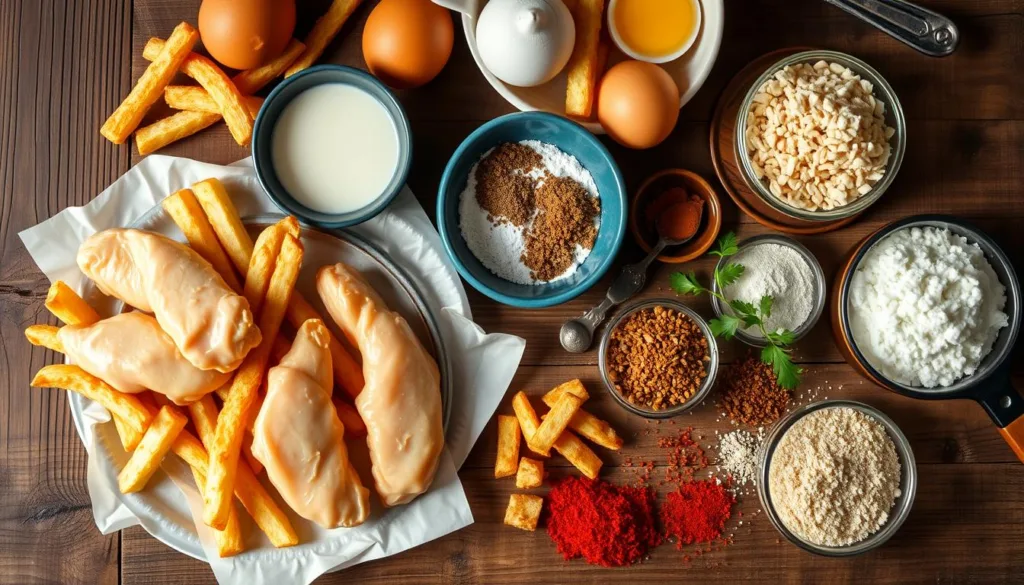
The star of the show deserves special attention. For juicy, flavorful chicken tenders, you’ll need:
- 1 pound of chicken tenderloins or chicken breasts cut into strips
- 1 cup of buttermilk for marinating (up to 24 hours for best results)
- 3 cups each of flour and cornstarch for the perfect crispy coating
- 1 egg and 16 oz of cold soda water for the batter

French Fry Components
Crispy, golden fries are the perfect sidekick. Here’s what you’ll need:
- 1 1/2 pounds of Yukon Gold potatoes, cut into 1/4-inch strips
- Vegetable oil for frying
- Salt to taste
Seasoning Suggestions
Elevate your ingredients with these flavor-boosting seasonings:
- 1 tablespoon each of garlic powder and onion powder
- 1 tablespoon of smoked paprika or cayenne pepper for a kick
- 1 teaspoon each of sea salt and black pepper
- 1/2 cup of plain breadcrumbs for extra crunch
With these ingredients, you’re ready to make restaurant-quality chicken tenders and fries at home. The secret to success is using fresh, high-quality ingredients and following the right preparation techniques!
Preparing Your Homemade Chicken Tenders and Fries
Ready to make chicken tenders and fries like your favorite restaurant’s? Let’s start with these simple steps!
First, cut 2 large chicken breasts into 1-inch strips. Cut 1.5 pounds of Yukon gold potatoes into 1/4-inch strips. Soak the potato strips in cold water for 30 minutes. This helps them get crispy.

- Mix 1 1/2 cups all-purpose flour, 3/4 teaspoon salt, and 1/2 teaspoon black pepper in a shallow dish
- In another dish, whisk 1 egg with 2 tablespoons of water
- Have a clean plate ready for your breaded tenders
Pat your chicken dry with paper towels. Dip each strip in the flour, then the egg, and back in the flour. Place on the clean plate. Let them rest for 5 minutes for extra crispiness.
Drain your potato strips and pat them dry. Toss with 2 tablespoons of olive oil and 1/2 teaspoon of sea salt. Pro tip: Preheating your oven to 400°F now will save time later!
With these steps, you’re ready to cook your homemade chicken tenders and fries. Remember, good preparation is key for that perfect crispy texture and delicious flavor!
Mastering the Cooking Process
Ready to take your cooking to the next level? Let’s explore how to get that perfect crispy outside and juicy inside.
Getting the Oil Temperature Right
The secret to crispy chicken tenders is the oil temperature. Aim for 325°F to 350°F for the first fry. This helps cook evenly and keeps moisture in. For fries, start with a lower temperature, around 315°F to 325°F.

Proper Frying Techniques
Here are some tips for frying chicken tenders and fries:
- Fry in small batches to prevent overcrowding and temperature drops
- Use a thermometer to maintain consistent oil temperature
- For extra crispiness, double-fry your chicken tenders at 375°F
- Cook fries twice: first at a lower temperature, then at a higher temperature for crispiness
Timing and Coordination Tips
Timing is everything when cooking chicken tenders and fries. Start with the fries, as they can be kept warm in the oven. While they’re resting, fry your chicken tenders. Make sure they reach an internal temperature of 165°F for safety. Remember, practice makes perfect!
Master these techniques and you’ll be cooking like a pro in no time. Enjoy your homemade crispy creations!
Flavor Variations and Seasoning Combinations
Ready to elevate your chicken tenders and fries? Let’s dive into some exciting seasoning combos that will make your taste buds sing!
For chicken tenders, try these flavor-packed options:
- Lemon Parmesan: Zesty and cheesy
- Spicy Ranch: A kick of heat with creamy undertones
- Honey Mustard: Sweet and tangy perfection
- Garlic Herb: Classic and aromatic

Don’t be shy with your fries! Sprinkle them with smoked paprika for a smoky taste. Or try garlic powder and grated Parmesan for a savory twist. Pro tip: Marinate your chicken for at least 30 minutes to enhance flavors!
Chicken tenders are not just tasty; they’re also packed with protein. With 31g of protein per serving, they’re a nutritious choice. Pair them with seasoned fries for a balanced meal with about 28g of carbs and 18g of fat.
Remember, the secret to amazing chicken tenders and fries is creativity. Mix and match seasonings to create your own unique blend. Happy cooking!
Serving Your Crispy Creation: Dips, Sides, and Presentation Ideas
Your homemade chicken tenders and fries are ready! But the fun doesn’t stop here. Let’s find exciting ways to serve them and make your meal unforgettable.
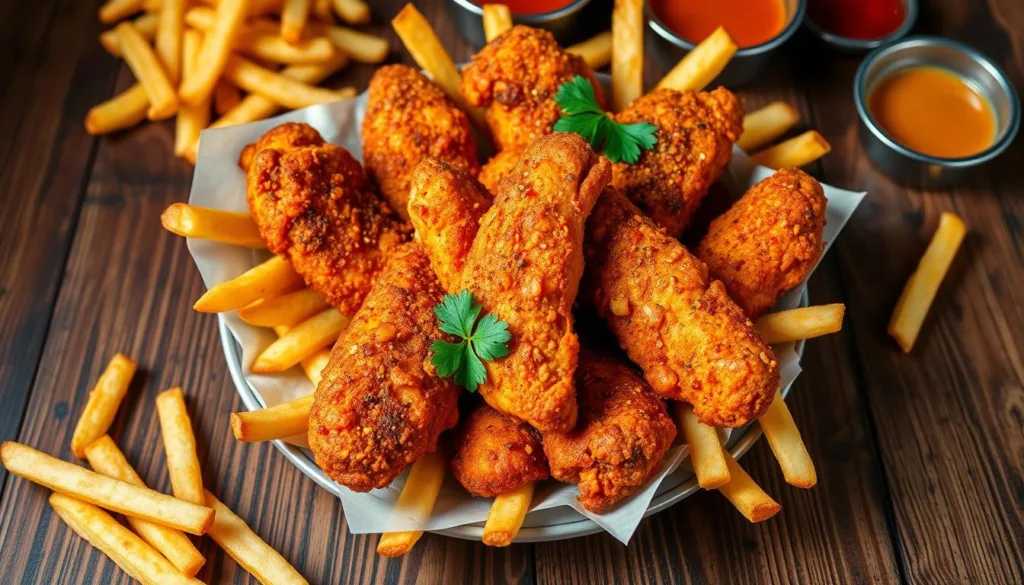
Try classic sauces like honey mustard, ranch, or BBQ. For something different, go for Carolina Gold BBQ Sauce or buffalo sauce. Serve them with sides like coleslaw or a crisp salad to balance the flavors.
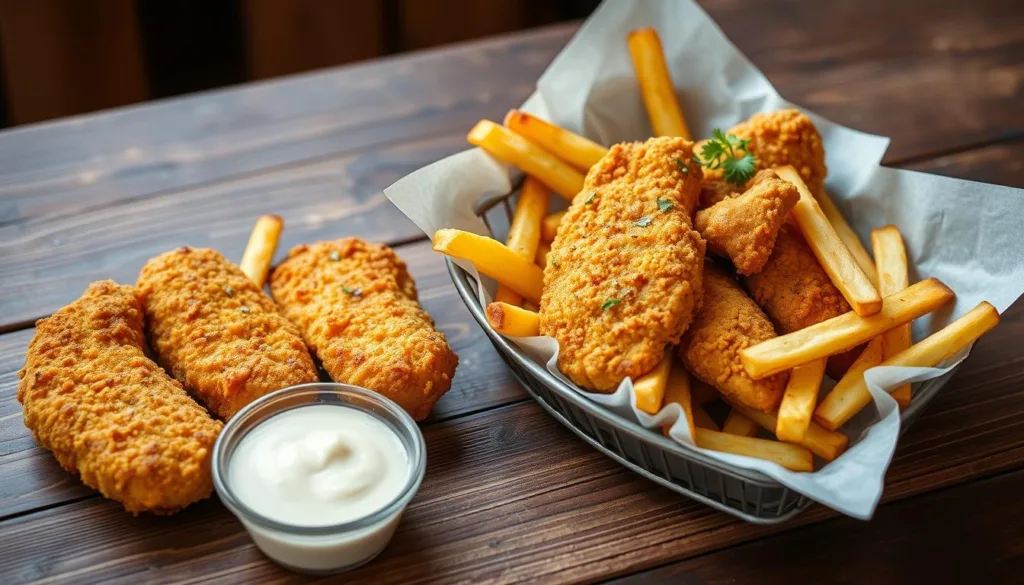
Make your dish look great by serving it on a rustic wooden board. Arrange the tenders in a fan shape and place fries beside them. Add colorful ramekins with different dips for a fancy touch.
Remember, one pound of chicken tenderloins makes about 8-10 pieces. Plan for 3-4 tenders per person for a full meal. Your homemade feast has about 694 calories per serving, making it a tasty treat!
Got leftovers? Store them in an airtight container for up to 3 days in the fridge or 3 months in the freezer. Reheat in the oven at 425℉ for about 10 minutes to get that crispy back.
Serving chicken tenders and fries is all about having fun and trying new flavors. Don’t be shy to experiment with different seasonings or dips. Your perfect combination is just waiting to be found!


